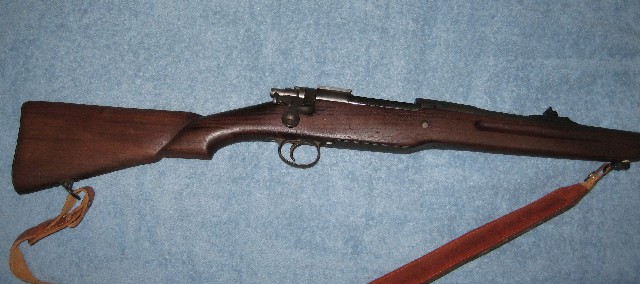
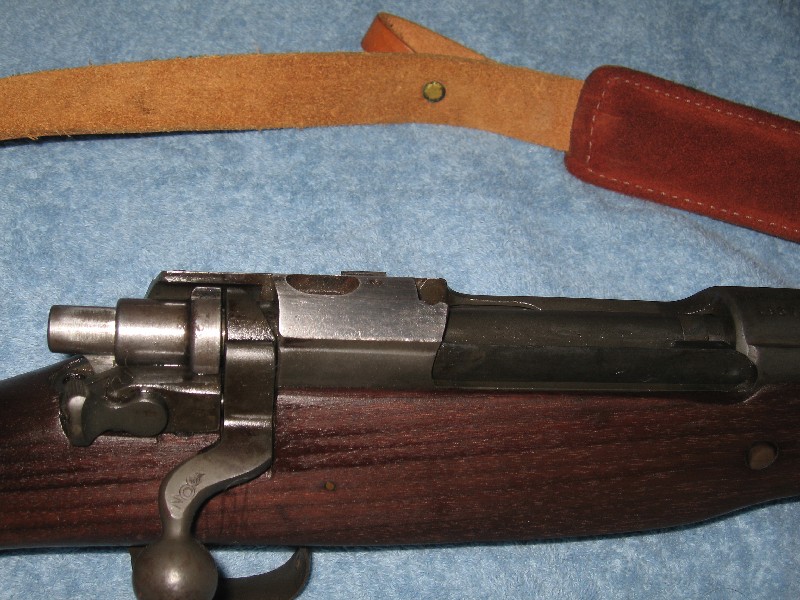
1917 Winchester Enfield
1-27-08
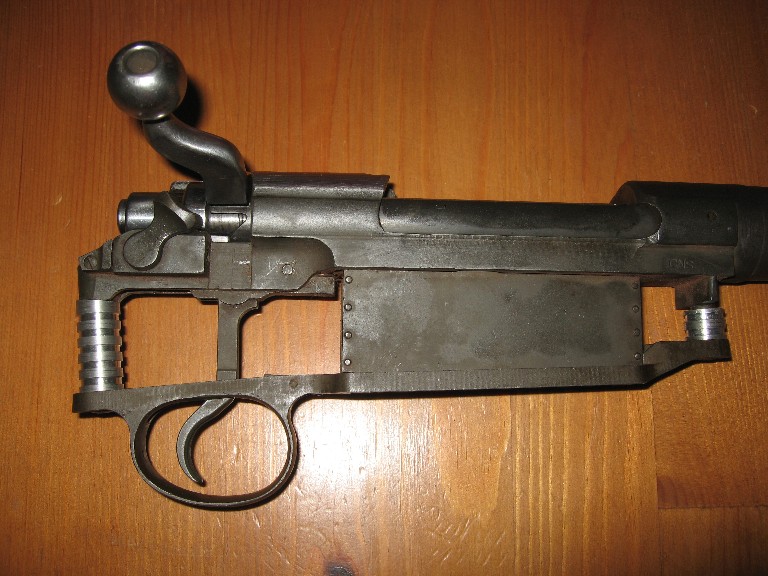
I saw a few of this rifles at the local Gun show this weekend and I was really suprized that an unaltered 1917 Winchester P17 in mint condition will go for as much as $ 2000. Well, too bad, on mine the receiver has already been machined and the value of the gun is out of the door, so sporterizing here you go. I'm not one that would butcher a perfectly good antique gun to make a sport rifle out of it, however, this gun came cheap and already altered to where the gun's value is lost.
1-29-08
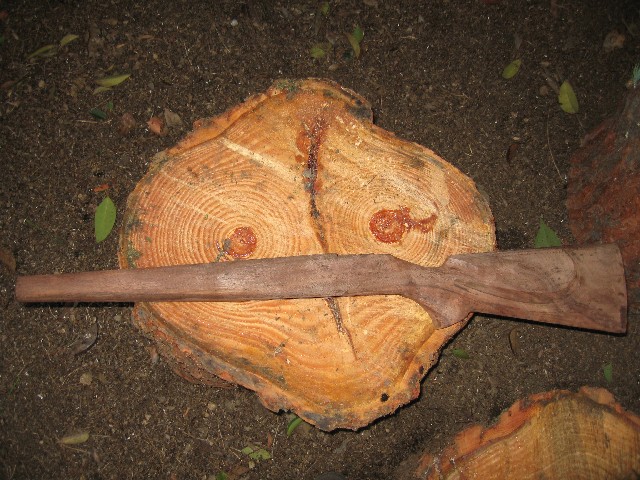
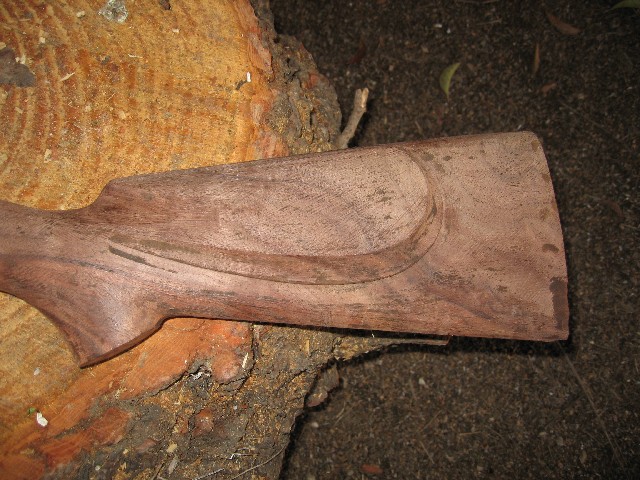
Received the stock from Great American Gunstock Company www.Gunstocks.com. Tried to fit the barrel into the stock but, it looks like there will be a lot of sanding in the forecast. They had a special on some smoke damage stocks that were damaged during a fire, so I took advantage of the almost half price sale. The stock shows some smoke damage marks on the inside of the machined cavities, but over all is sweet.

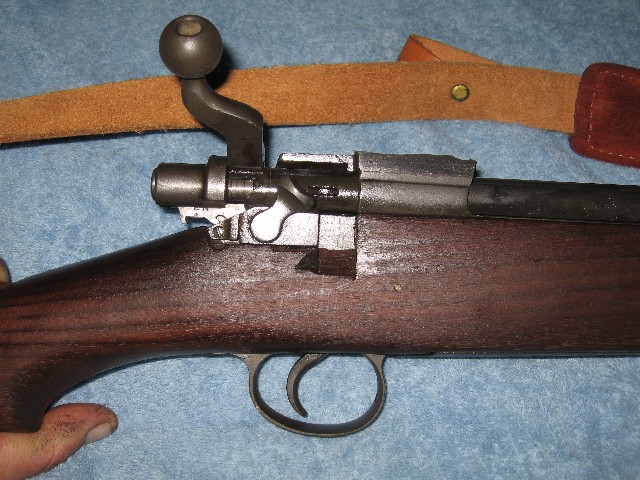
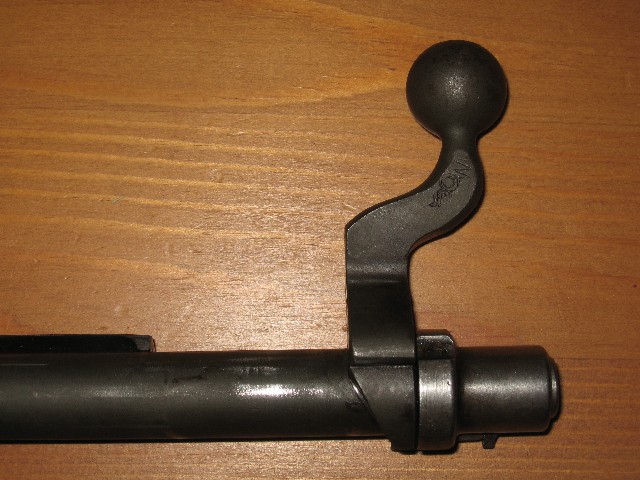
The action is not very smooth. It binds and it takes some force to lock and unlock the bolt.
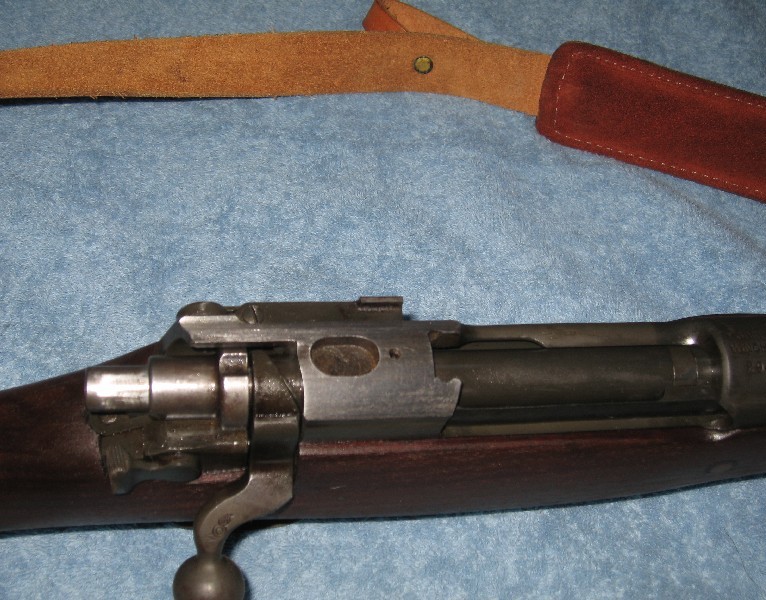
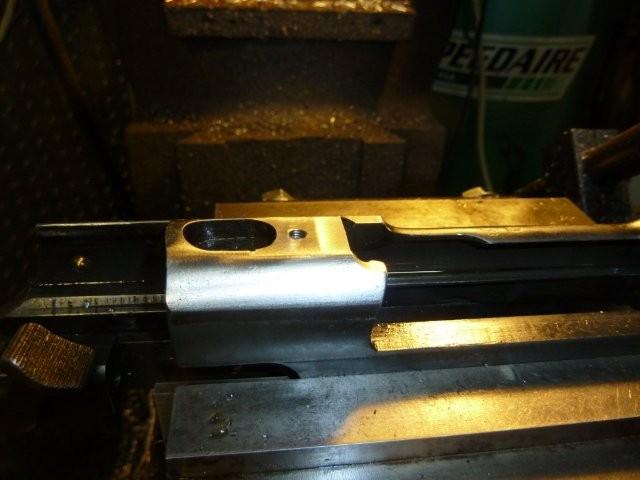
Cleaned up the rough edges and polished up the high spots at the matting surfaces.

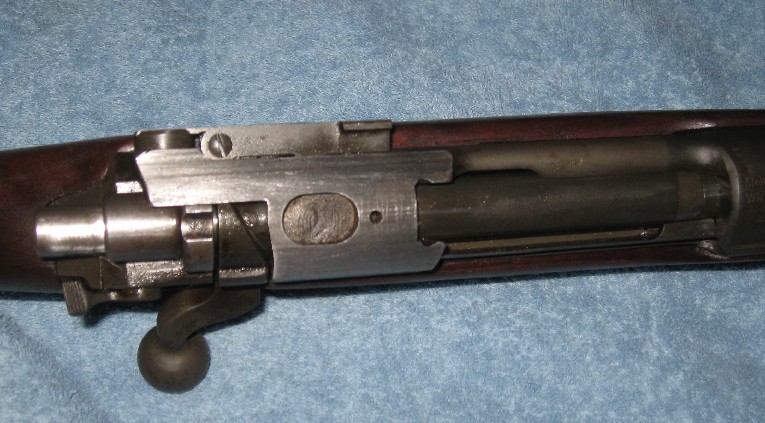
Here is a failed attempt of the process called engine turning. I will have to experiment with other options, or I just have to brake down and buy the engine turning kit from Brownells. I used a medium polishing stick ( the rubberized stuff ) from Rutland Tools and some lapping compound.
I have some Teflon stock that I'm thinking of turning down to a 1/4" diameter and use that with 120 grit lapping compound.

I purchased The Riflestock Bible e-Book from http://riflestocks.tripod.com/ for $ 9.95 and you will receive the PDF file as soon as payment is made. Lots of good info here especially if you a novice to the gun stocks as I am.02-08
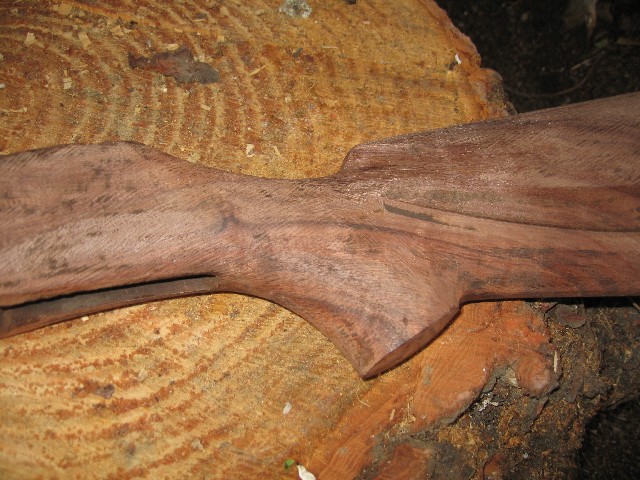
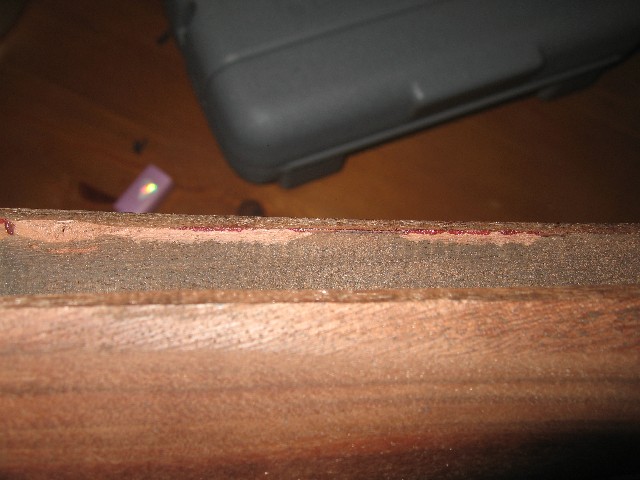
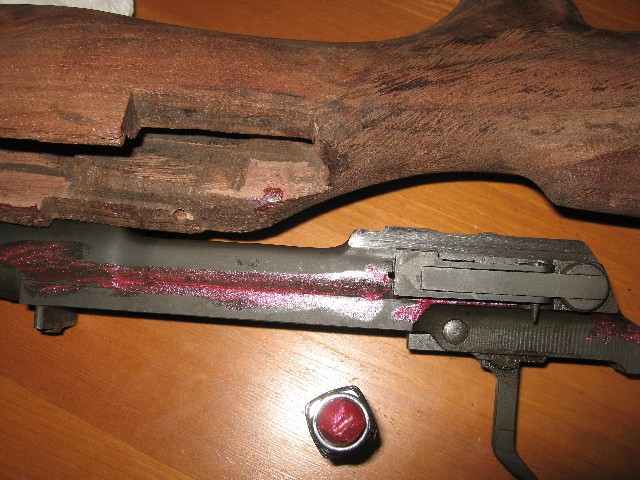
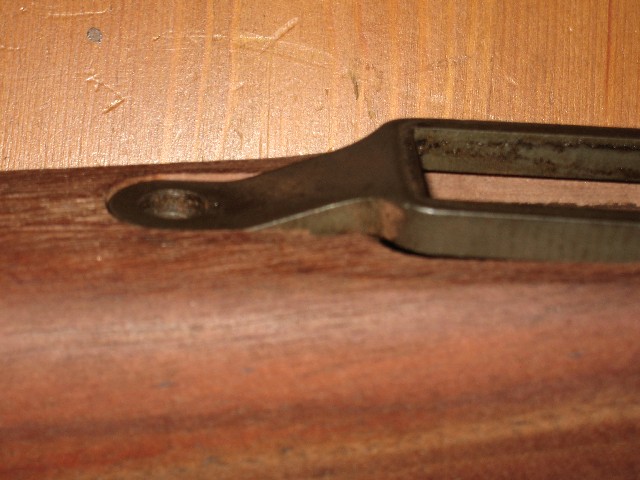
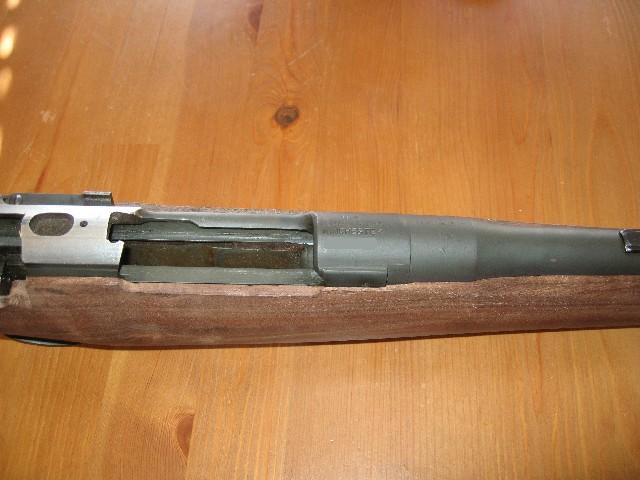
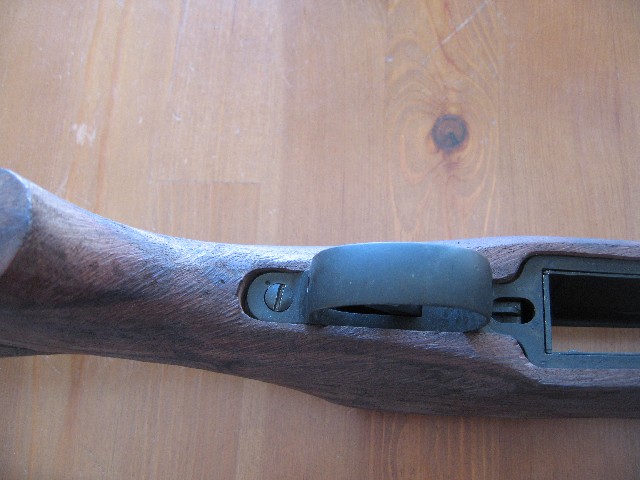
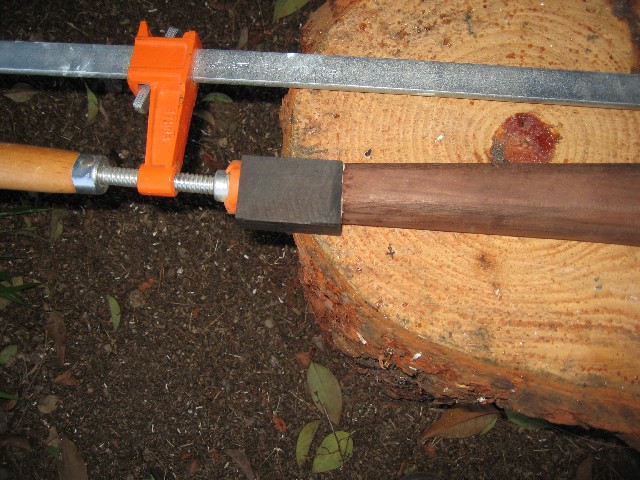
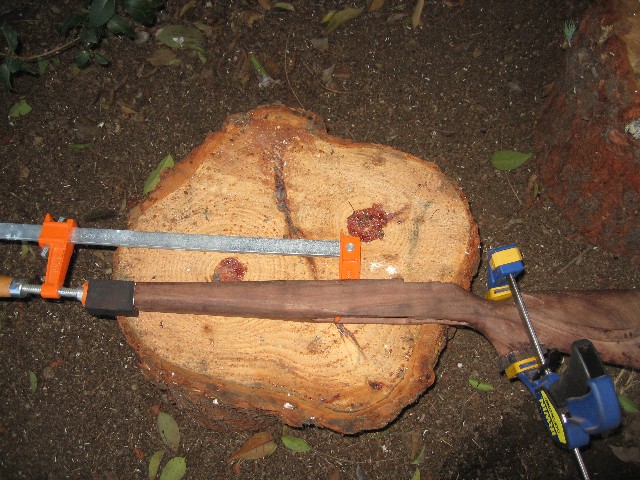
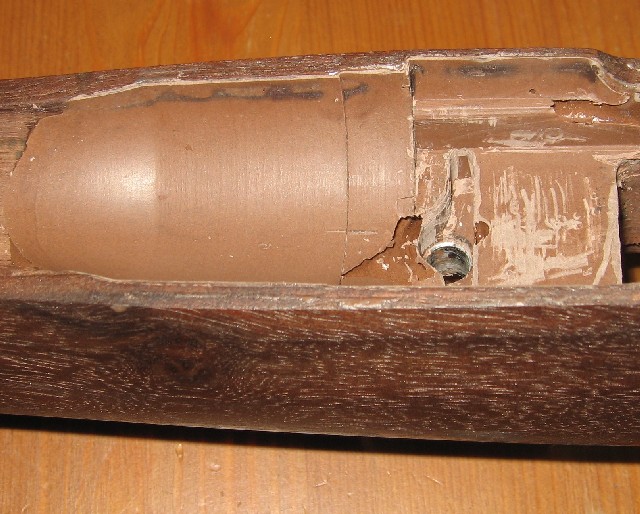
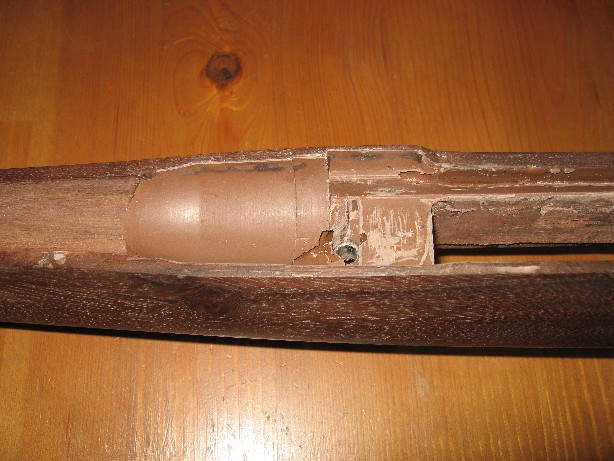
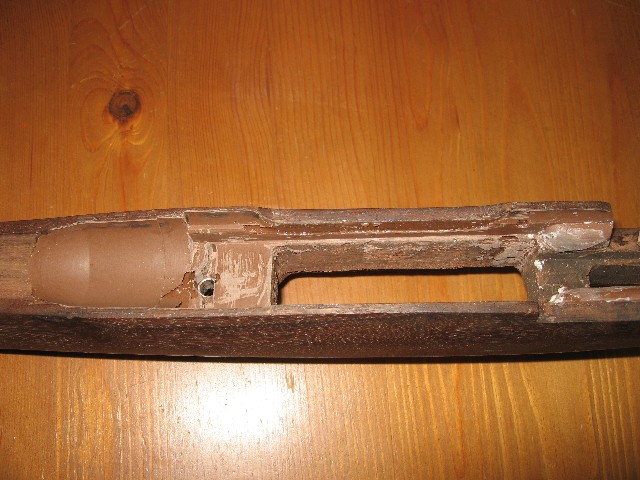
I had some time this weekend to get the barrel inlayed in the stock. I did not have inlaying die on hand, so I had to find another solution. The blue layout die that I use on steel just dries too fast and does not work. Patience is not my best trait and I really did not want to wait for mail order, so I borrowed a de-commissioned lipstick from my wife for a cheap try. Some hours later I got the barrel to fit into the stock nice and snug. Next was to fit the trigger guard. When I ordered the stock I ordered a stock for a flat magazine plate, that meant that I would have to straighten out the plate and some cutting and welding would have to be required. When I got the gun stock, I decided that I will just work the original plate into the stock and deal with the finish later. The trigger guard set in pretty fast, however when I tried to install the screws that secure the plate to the action, I realized that it was not lining up at all. The trigger guard machining was 1/8" off. What a bummer. I spent all day trying to get this thing to inlayed so it looks nice and now I have to shift the whole trigger guard 1/8" forward. That means that the whole profile of the guard has to be moved. A couple hours later I finished shifting the guard forward but, now I have to deal with the gap that remained.


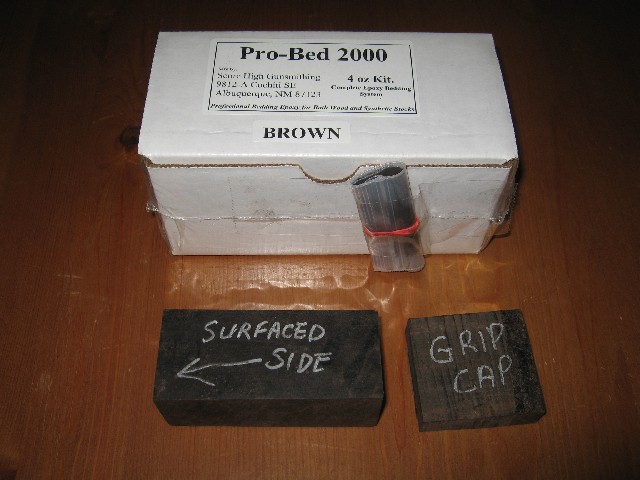
I read on a website that the epoxy bedding is a good fix for a bad inlaying job. Being a metal fabricator I know the a grinder is a good fix for a bad weld job so it looks like there is still hope. I called and ordered a glass bedding kit and some ebony blocks. The owner spent quite some time with me on the phone and gave me lots of hints and ideas. Nice to know that there are still businesses that take the time with their customers.
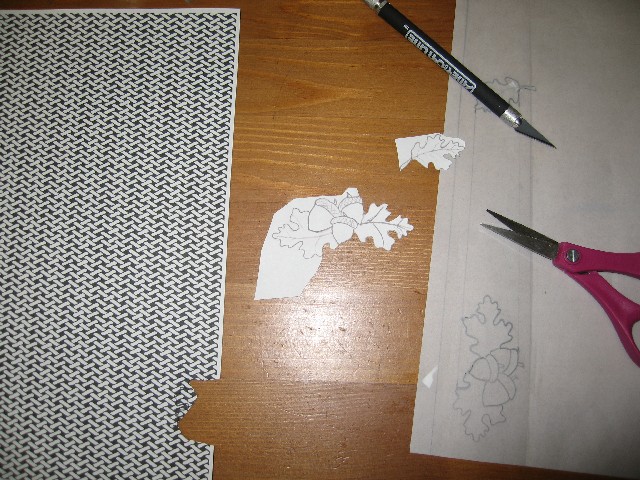
I ran into a site that shows how to make a basket weave pattern on wood and I ordered an instructional CD. Rifles look plain with out a checkering, but the weave pattern looks really nice. I'm not known for my artistic abilities, but I figured that I will give it a try on some scrap wood and see how it goes. If it comes out like the stock inlaying then I just consider it as a good informative CD.
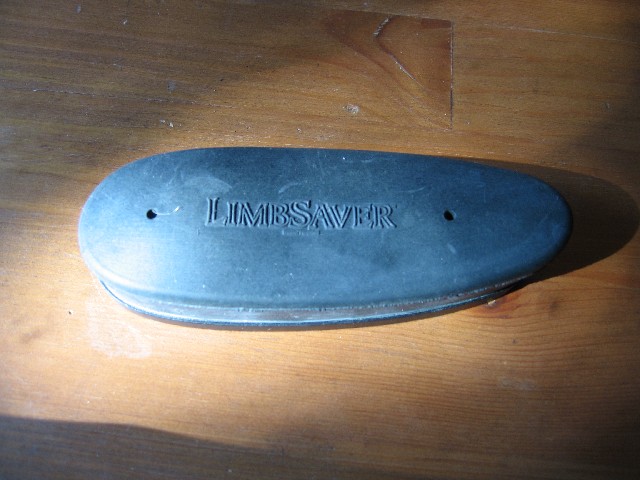
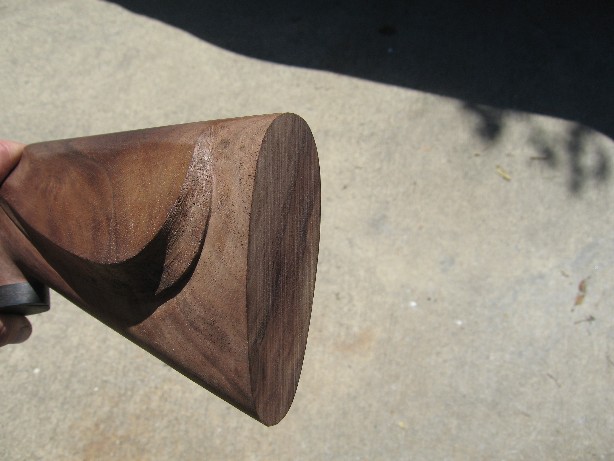
After some research online I decided to go with the LimbSaver Grind to fit recoil pad. I purchased the medium pad model number 10542.
I received the Ebony and Glass Bedding epoxy today. I also received the Basket Weave DVD. I watched the 1 hour DVD and the author sure makes this basket weave process look easy. Practice on a piece of scrap wood will be a good patience tester for me.
2-18-08
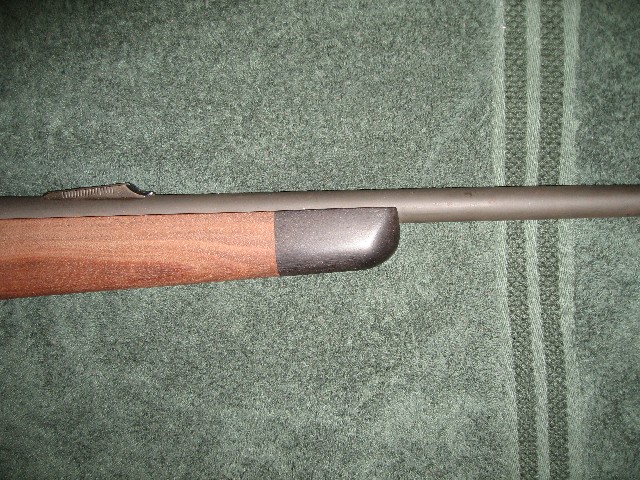
I decided to flycut on the milling machine the mating surfaces on the ebony and the gun stock for a better fit. Used two 1/4" dowels and Titebound II glue to secure the ebony to the walnut.
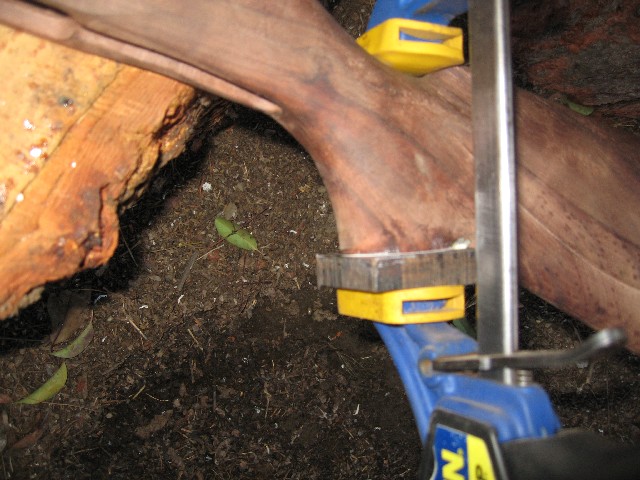

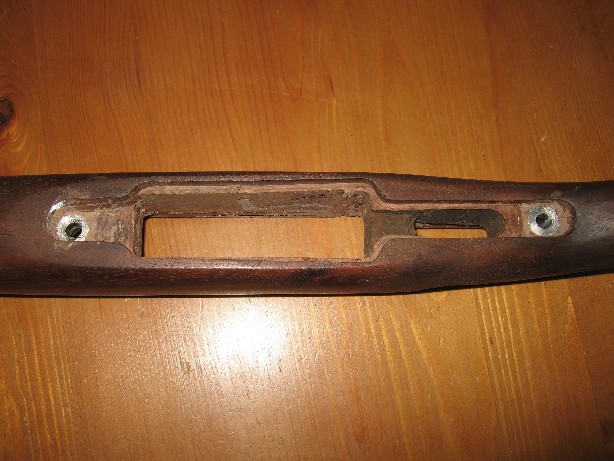
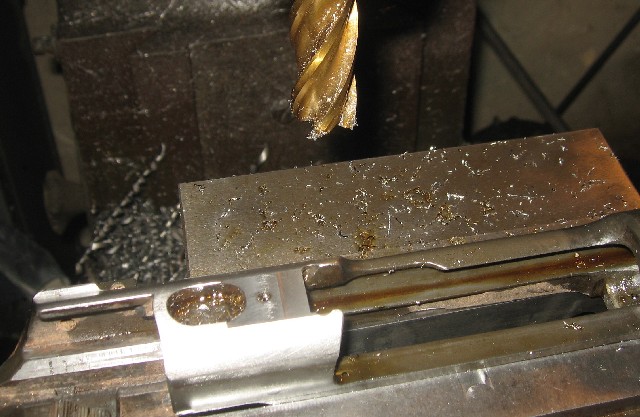
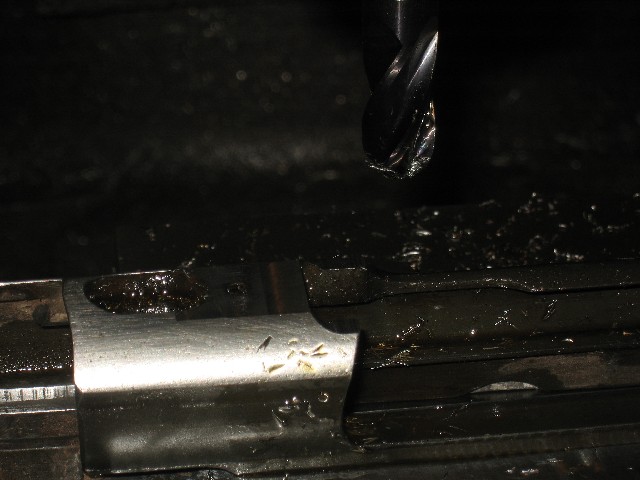
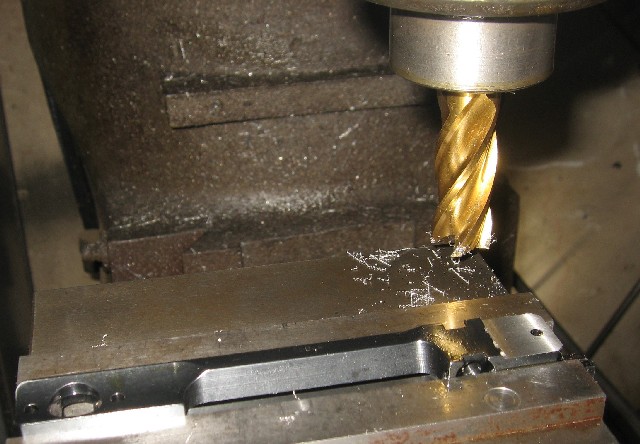
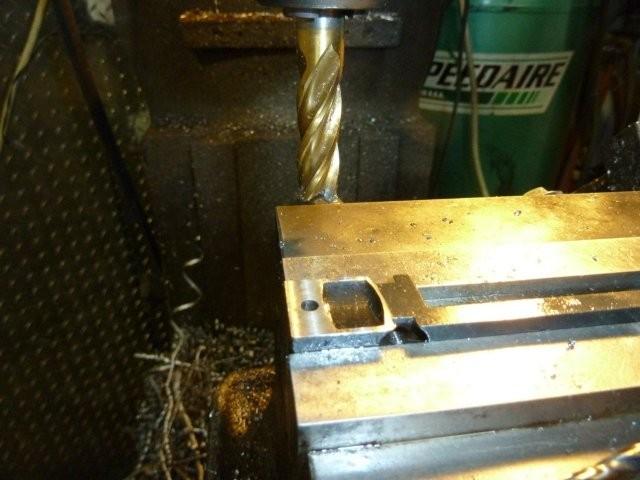
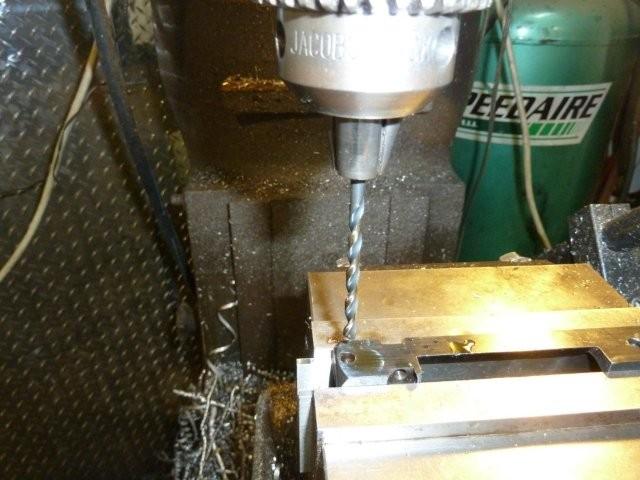
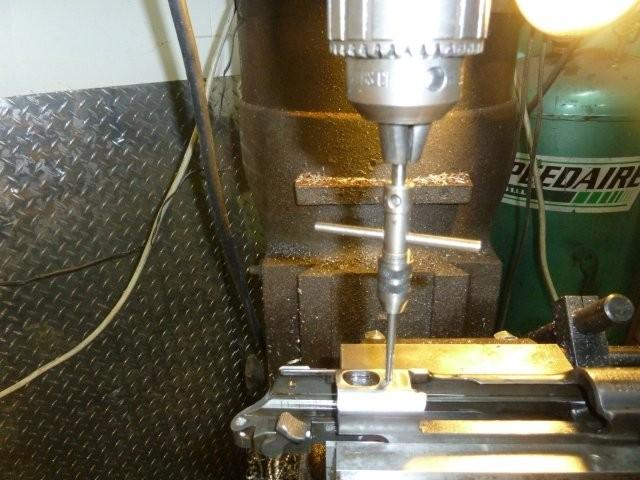
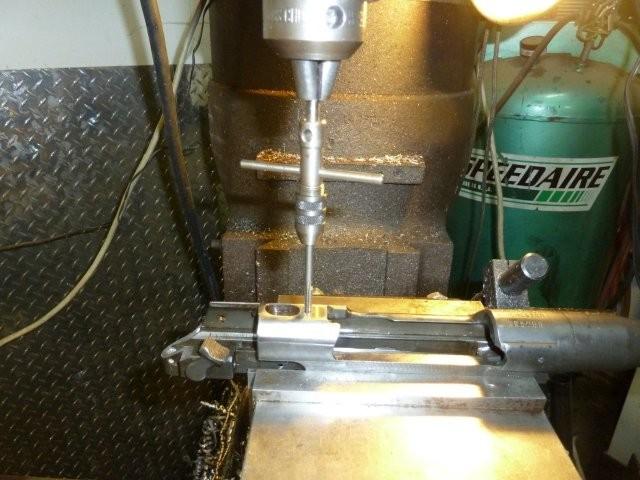
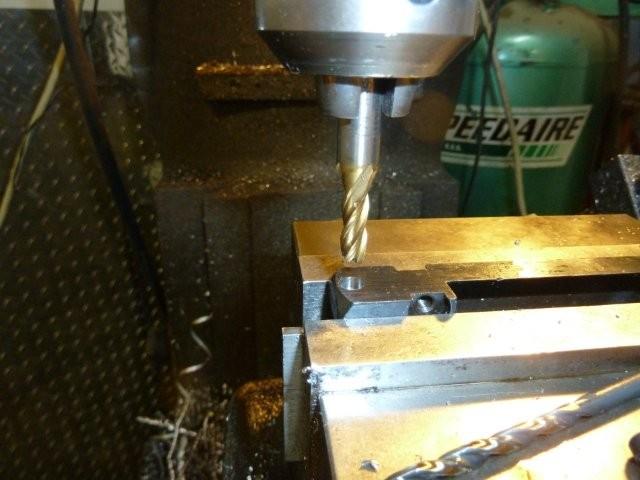
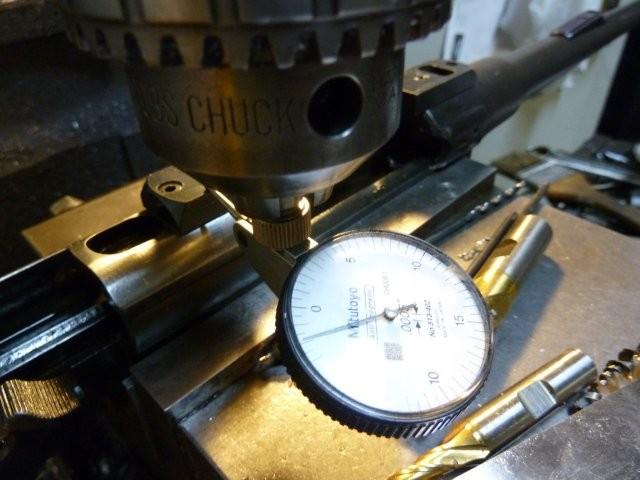
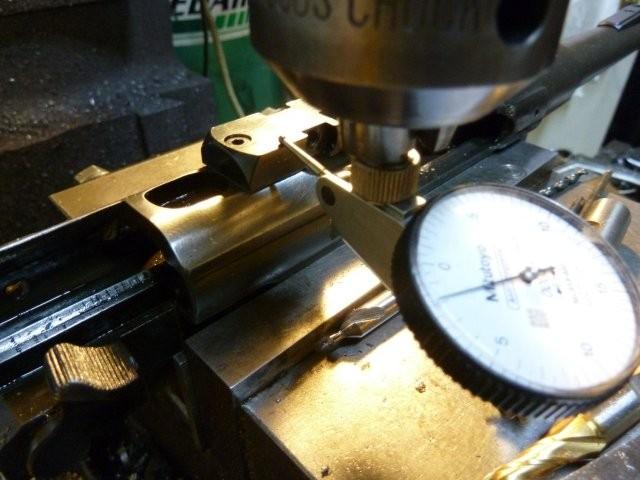
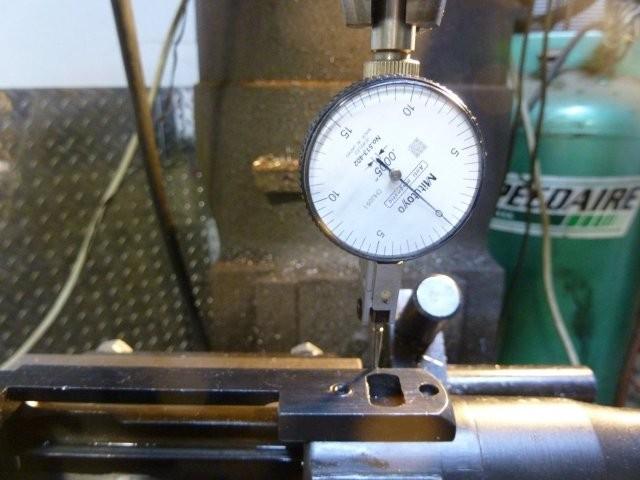
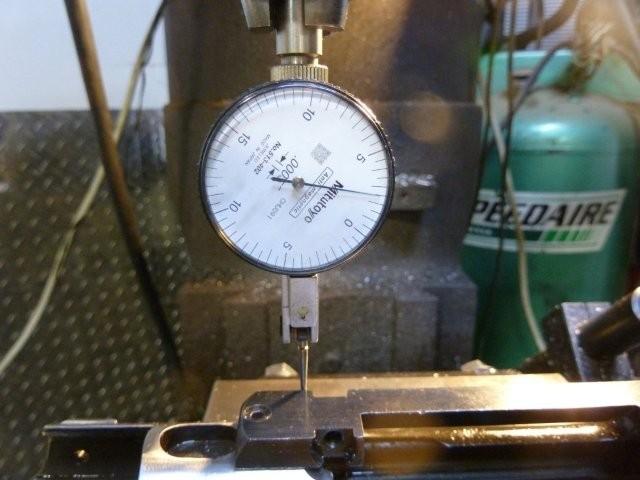
I saw an article on pillar bedding. I like the idea of having an aluminum sleeve around the bolts for extra support. So how do I drill the holes in the stock to be concentric with the threads on the receiver? There are expensive jigs to do this or make your own. So here what I came up with.
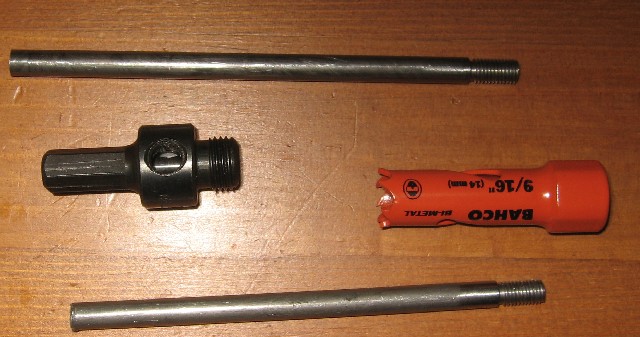
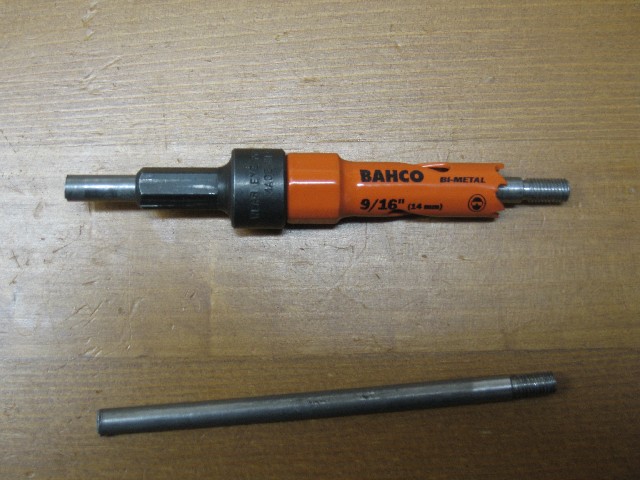
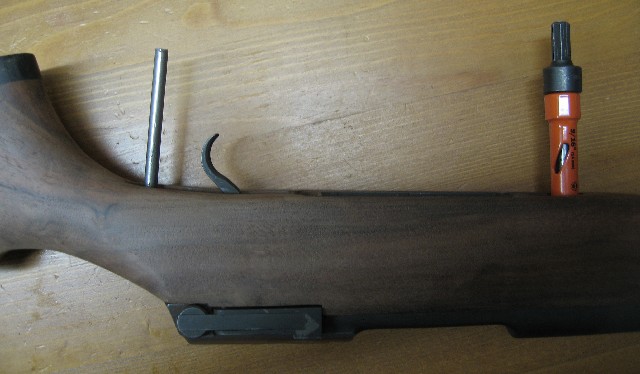
The threads on my Winchester are not common threads. 1/4"-30, so I could not use 1/4"-28 NF threaded bolts. In this case I had to make the studs for the guide. Got the hole saw from McMaster. This thing worked like a champ.
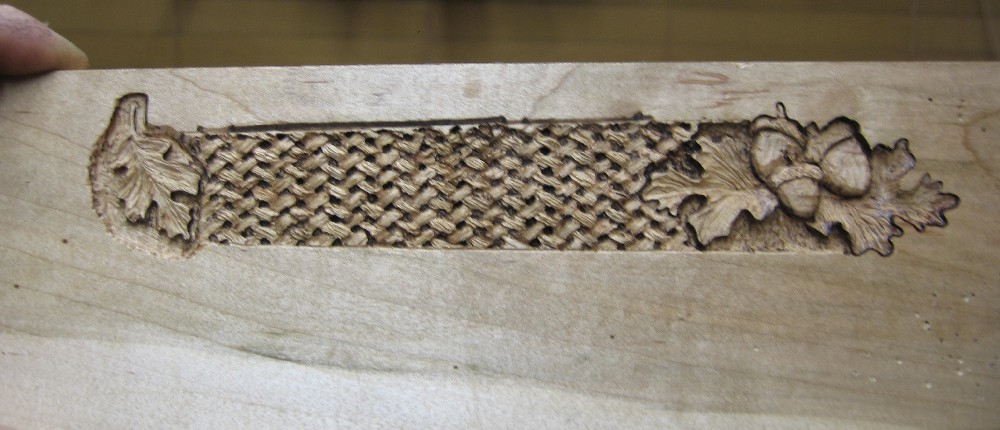
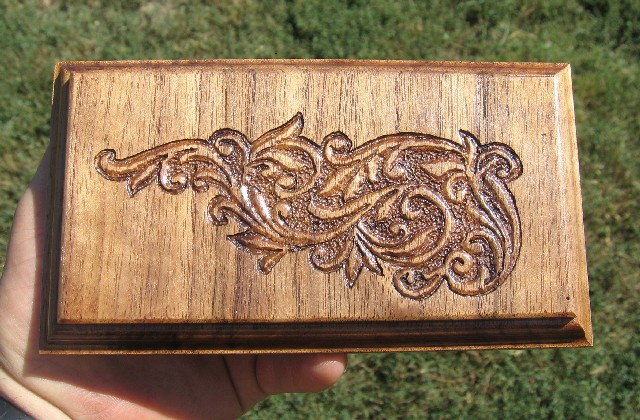
Today I got my new toy. A high speed drill like a dremel. It was time to put it to test. I found some leaf patterns on the Net, and I copied and pasted the first forearm pattern. I made a left and a right pattern.
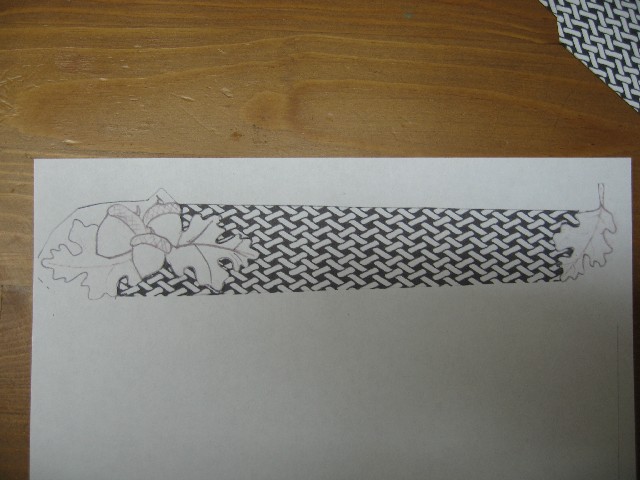
First test carving job on a piece of maple. This is hard on your eyes. I have a long way to go before I put any of this carving on my stocks.
I had some time today to make up the pillars. I turned it out of 6061 T6 stock. Now I have to wait for a nice warm day to set it in the bedding epoxy. Epoxy works better in temperatures over 70 degree.
The rear pillar had to be cut to a 5 degree angle.

Today I removed all the links that I used in my earlier posts. I spoke with on of the venders and asked permission to use his link, He pretty much told me that he does not think this is a good idea since my site is set up for recumbents and blahhh blahhh blahhh. So here it goes. Off the site! I figure any exposure is good thing, even if it is not related to the main subject. Later I figured that he might not want to be associated with a rookies like me :-).
3-26-08
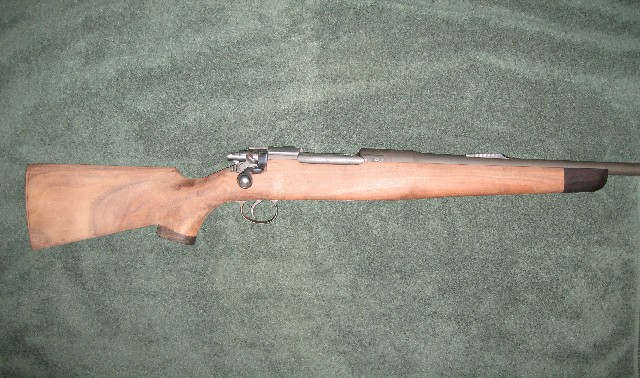
I got the action bedded today. I been procrastinating with this for a while. I took the action out after 5 or 6 hours and it sure was tight. This is why I was procrastinating, I did not wanted to glue the action into the stock. There are some cavitations where the epoxy ran out, however I'm pretty happy the way it came out. The action is firm in the stock and feels alright. I will definitely take more time preparing the next rifle if I ever do another. More wax and more polishing!
9-15--08
Finally after a long break, I got a little drive to work on it again. I'm still undecided on the finish for the stock. Polyurethane, or Oil finish? I finished a Ruger 10/22 rifle stock many years ago, and I used a polyurethane spray finish and it can out super shiny. That was fine for a gun that I target shoot with. I'm not sure that will work for a field rifle. I read some articles on Oil finish and I think I'm more confused then ever. Lin-seed, Tung Oil, Tru oil or what should I use. I never worked with oil finish in the past so I decided to test a few pieces my self. I had a piece of test walnut that I practiced carving on and decided to lay a few coats of Tung oil on it. I ran a steel wool pad on it after every coat and after 10-12 coats the grain is still not filled. I tested a piece of Maple using Tru oil also. It is OK! I should have used the same wood and finish on all test wood with different oils to be able to compare apples to apples. I stayed away from Lin-seed oil because I heard and read that the oil will never really dry. A good friend of mine suggested to try the Lin-speed oil. A modified Lin-seed oil that has a catalyst that helps the oil to dry in 6 hours. So I ordered the oil form GB's site and once I receive it I will make three identical wood pieces to test all three oils.
12 coats of Tung Oil, and the wood has not been sanded.
I been looking for a scope mount for this rifle. I figured that the original gunsmith that machined the receiver had machined it for a common rifle. I might have to machine a one piece mount to make it work. There is a huge cavity where the rear mount should be screwed and there is no room for the second screw. Someone suggested to epoxy a piece of steel plug in that hole and use it to tap a second screw. I really don't know about that. I picked up a Redfield scope mount for a Mauser and I think I can turn one end to make it fit.
1-15-09
So three months went by again. I tested some blank walnut pieces with Tung oil, Tru oil and Linspeed oil. There were not much difference on the look. I decided to go with the Linspeed oil for the stock. I wetted the test pieces and dried them out to let the loose fibers stand up. It felt like Velcro. Sand them down and applied half a doesnd coat of oil and all test pieces. I laid one coat of Linspeed oil no the stock with out the wetting. I will let the oil raise the fiber if it must.
After a better check on the machined receiver, I realized that the it was not concentric nor a true radius. I Machined the back of the receiver flat, and matched the scope base level. The one thread hole that I thought is usable on the receiver turned out to be a Special English thread size and pitch. .144" -37tpi. This is the thread that held the old rear sight. I ordered some taps form www.Midwayusa.com and as soon as I receive it I will punch out the rear to a 8-40 thread and drill the front to 6-48. I ordered a few taper pin reamers from Rutland tool #7/0 and a #4/0 just in case I will have to pin the rear of the base.


| Home | Back to Links |
Copyright ©
Frank F. Takacs, Takacs Cycles and www. gotTrikes.com
All right reserved. Last updated
April 10, 2012