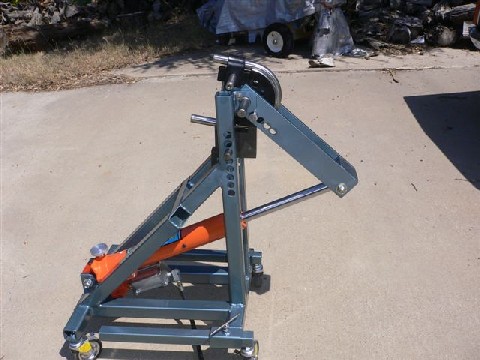
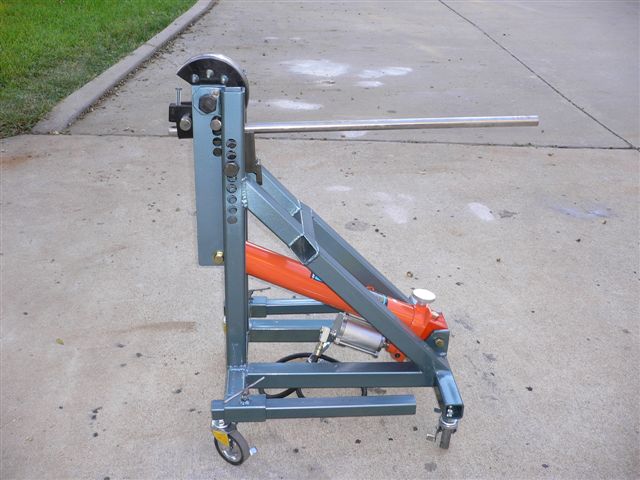
Doug's Finished Bender
"Frank, Here are a few photos of my Type B bender. I followed your excellent directions and it came out perfectly. The only deviations I made were:
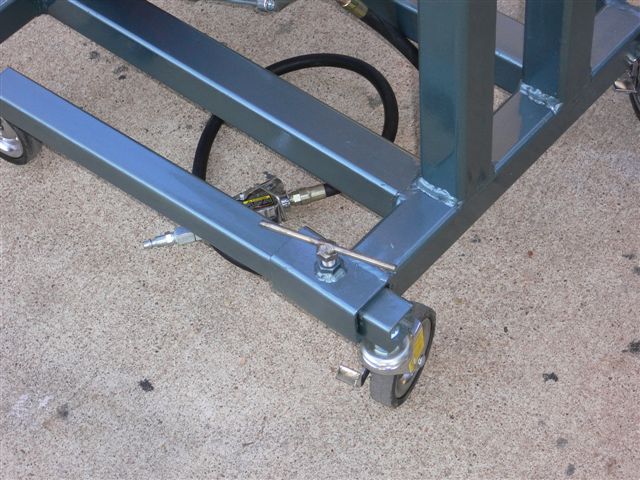
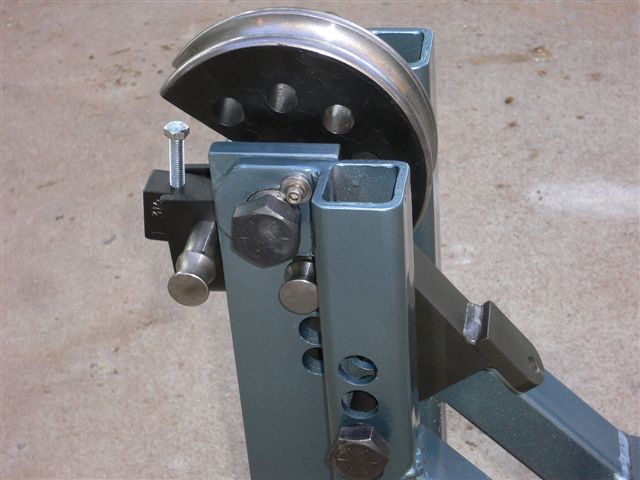
Instead of centering the 2x2 pieces that the legs extend/retract through, I brought them back flush with the base-frame to eliminate a couple of inches of depth at the base, and
I raised the point where the pivot
bosses (part JB) attach to the uprights by about 1/8". It seemed to me that it
was easier
to get the pipe level when first fed through the die and follower. I also made
the pivot bosses (part JB) out of 1/2" thick plate instead of 5/8".
Harbor Freight had all the drill bits I needed except for the 17/32" drill that
I got at a bolt supply house. I used Grade 8 bolts for the pins (except for the
pins that came with the die set). I sprayed it with automotive self-etching
primer, and base coat/clearcoat from a defunct 1987 Honda that my daughter
terminated with extreme prejudice...
Doug in Austin, TX"
Doug your bender looks great. I hope you have fun using it.
Frank Takacs
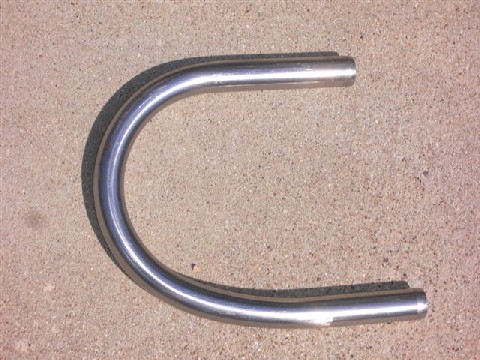
Frank:
Here are some photos of the 1st piece of tubing I bent. It's a 1" stainless
tube on a 240 degree die. It would easily have gone way past 180 degrees on the
bend, but I might use the piece on a grill guard I am going to make for my golf
cart. I am really pleased with the performance of the Gottrikes bender. Your
plans, and the photos of professional looking benders built by others made me
want to take my time and do it right. Thanks again.
Doug in Austin, TX